How do I make an instant film emulsion lift?
Emulsion lifts are a great way to experiment with your instant photos. They can transform your photographs into uniquely beautiful paintings, plus the materials needed to perform them are easily accessible. It is important to note, however, that emulsion lifts are possible only with Polaroid film. To achieve a similar effect using Instax, you can try creating a transparency instead!


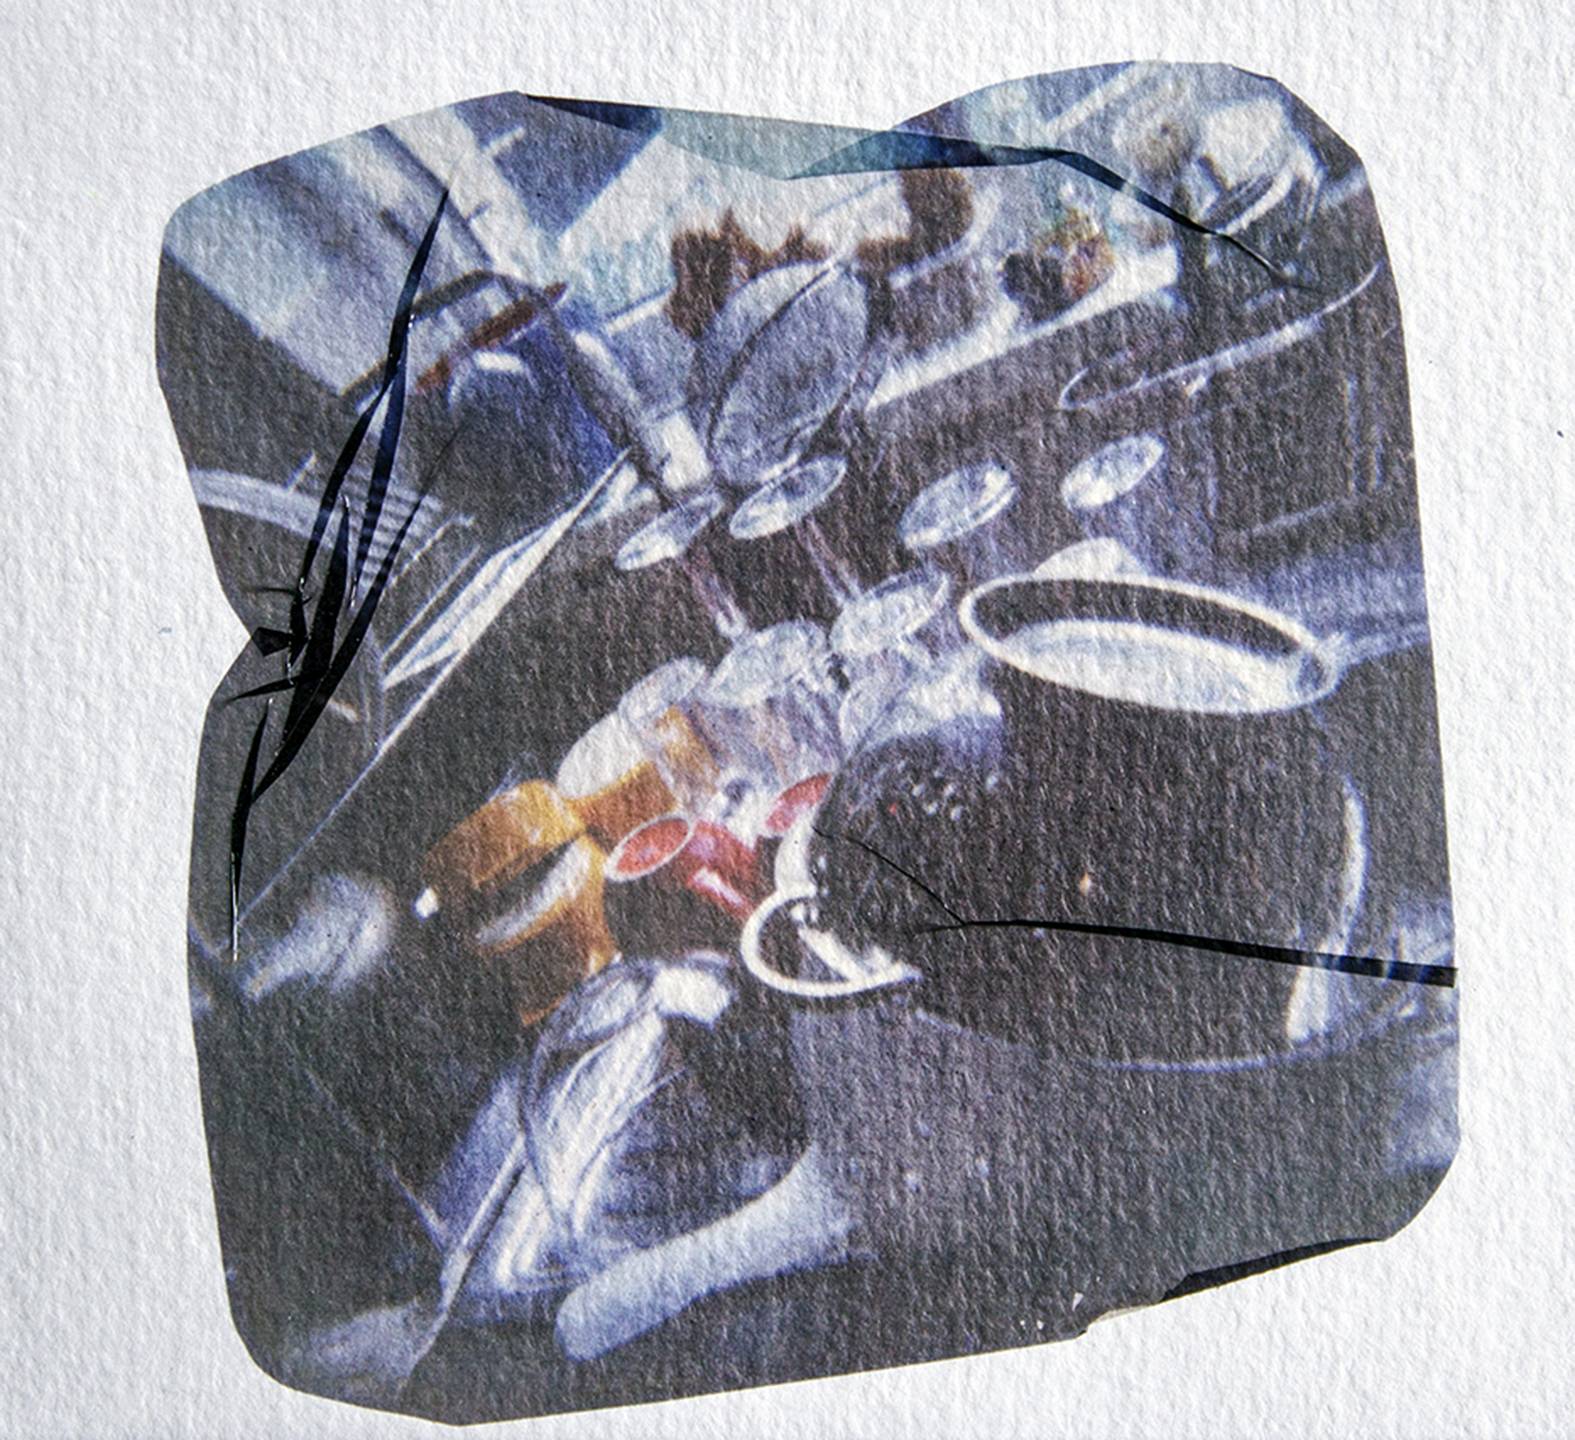
Here’s what you’ll need to do an emulsion lift:
- One tray of hot water – Make sure it’s hot, but not to the point of burning your skin.
- One tray of cold or room temperature water.
- Watercolor paper – You can also opt for other kinds of paper, as long as they are suitable for water techniques.
- Scissors
- Soft paintbrush
- Your fully developed Polaroid print – Fresh prints work better for emulsion lifts. You can still work with your older ones, though it will take more time and patience.


Here’s how to do an emulsion lift:
1. Take your Polaroid photo and cut off its white borders.
2. Gently pull the image apart and remove the plastic cover from the emulsion.
3. Soak the image in the hot water tray. Hotter water speeds up the process of releasing the emulsion, but be sure not to hurt yourself! If you notice the emulsion sticking to the tray or the plastic cover, use your soft paintbrush to move it gently. You can also use it to keep directing the water to the emulsion.
4. Now, it’s time to transfer the emulsion to the other tray. For this step there are a couple of options, so go with what works better for you!
Option A – Cold Water: Take your watercolor paper and submerge it into the cold water tray. Using the paintbrush, carefully move the emulsion from the hot water to the cold water tray and straighten it over the watercolor paper. It’s normal for the emulsion to curl. To help with straightening it, you can try holding the emulsion at the corners then dipping the paper in and out of the water. Be gentle though because aggressive actions might cause the emulsion to tear.
Option B – Room Temperature Water: First working in the tray of hot water, carefully slide the watercolor paper underneath the emulsion with the image side facing you. Use the soft paintbrush to help position the emulsion. Take your time, it won’t become smooth right away! Once you’re happy with the position, transfer the paper to a tray of room temperature water. Since this tray has a bit of warmth to it compared to completely cold water, the emulsion remains flexible. To help straighten, you can also apply the same method of holding the emulsion’s corners then dipping it in and out of the water.
5. Once you’re quite happy with how the emulsion looks, you can remove it from the tray. Since it’s still wet, you can continue moving the emulsion to the shape that you desire. You can also add some folds, wrinkles and the like using the wet paintbrush. Wait for the emulsion to dry, and that’s it!
Anything missing?
Can’t find an answer to your question? Or do you have some useful advice to add to one of our courses? We want to build the world’s largest analogue learning space, so please send any further requests or information to school@lomography.com and we’ll take a look!
More Courses
-
How do I clean my instant camera rollers?
Gently wipe the rollers with a soft cloth, tissue paper or cotton swab saturated with alcohol or ionized water. Once done with that area, press the shutter to make the rollers move, then so the same on the newly accessible parts. Repeat the process until there are is no visible dirt or black streaks left.
-
How do I creatively alter my instant photos?
Revamp your old instants or experiment with your fresh ones by trying out these five alteration ideas.
-
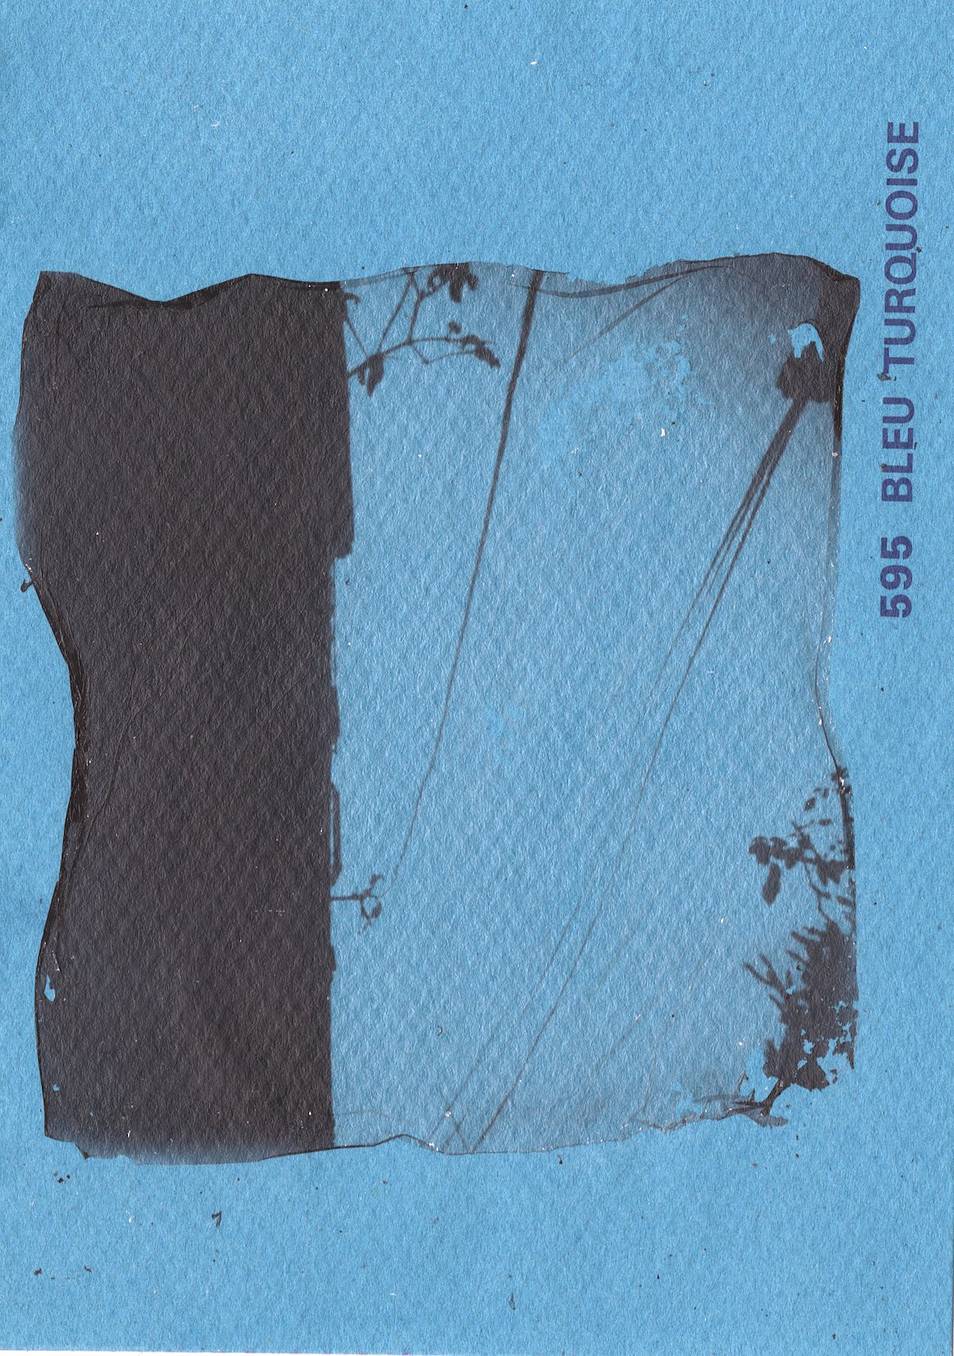
How do I create a transparency with instant photos?
Create transparencies from your Instax photos to elevate their uniqueness! Just follow these five easy steps.
-
What happens if I take out the instax film canister from my camera with film still inside?
Removing the instax film canister from your camera when you still have unexposed film inside will likely result in at least one ruined and unusable instax. Any instax film beneath the first one will probably be fine, although they could also contain light leaks.
-
How should I store my instant photos?
When it comes to storing instant photos a lot people simply throw them in an old shoebox or desk drawer. However, if you want to keep your instant photos in good condition for many years to come you can also take some additional measures.
-
How can I scan my instant photos?
There are a number of ways to create digital scans from your instant photos. Let’s take a look at the options available.
-
What are some features of Lomography Instant cameras?

The Lomography range of instant cameras have a ton of fun features including multiple exposure mode, bulb mode, remote control shutter release, and glass lenses.
-
What are the different instant film formats?
All Lomography cameras use Fujifilm Instax film. These come in three different formats – Instax Mini Film, Instax Square Film and Instax Wide Film.
-
What is the LomoGraflok 4×5 Instant back?
The LomoGraflok is the world’s first Instant Back for 4×5 cameras. It attaches to 4×5 cameras using the common graflok system, which most 4×5 cameras have, and so allows you to shoot Fujifilm Instax Wide film using large format cameras.